前言
這篇文章要來介紹我如何使用Hugo搭配GitHub Action來在Github Pages上建立個人的網站。主要用到的有幾個重要的架構以及工具:
前置準備
首先,你需要先準備好:
- GitHub帳號:用以使用GitHub服務。
- SSH公鑰以及私鑰:用以推送更新的程式碼到GitHub伺服器。
在這邊,我們會假設你已經了解如何建立帳號,以及對Git/GitHub有基本的認知。
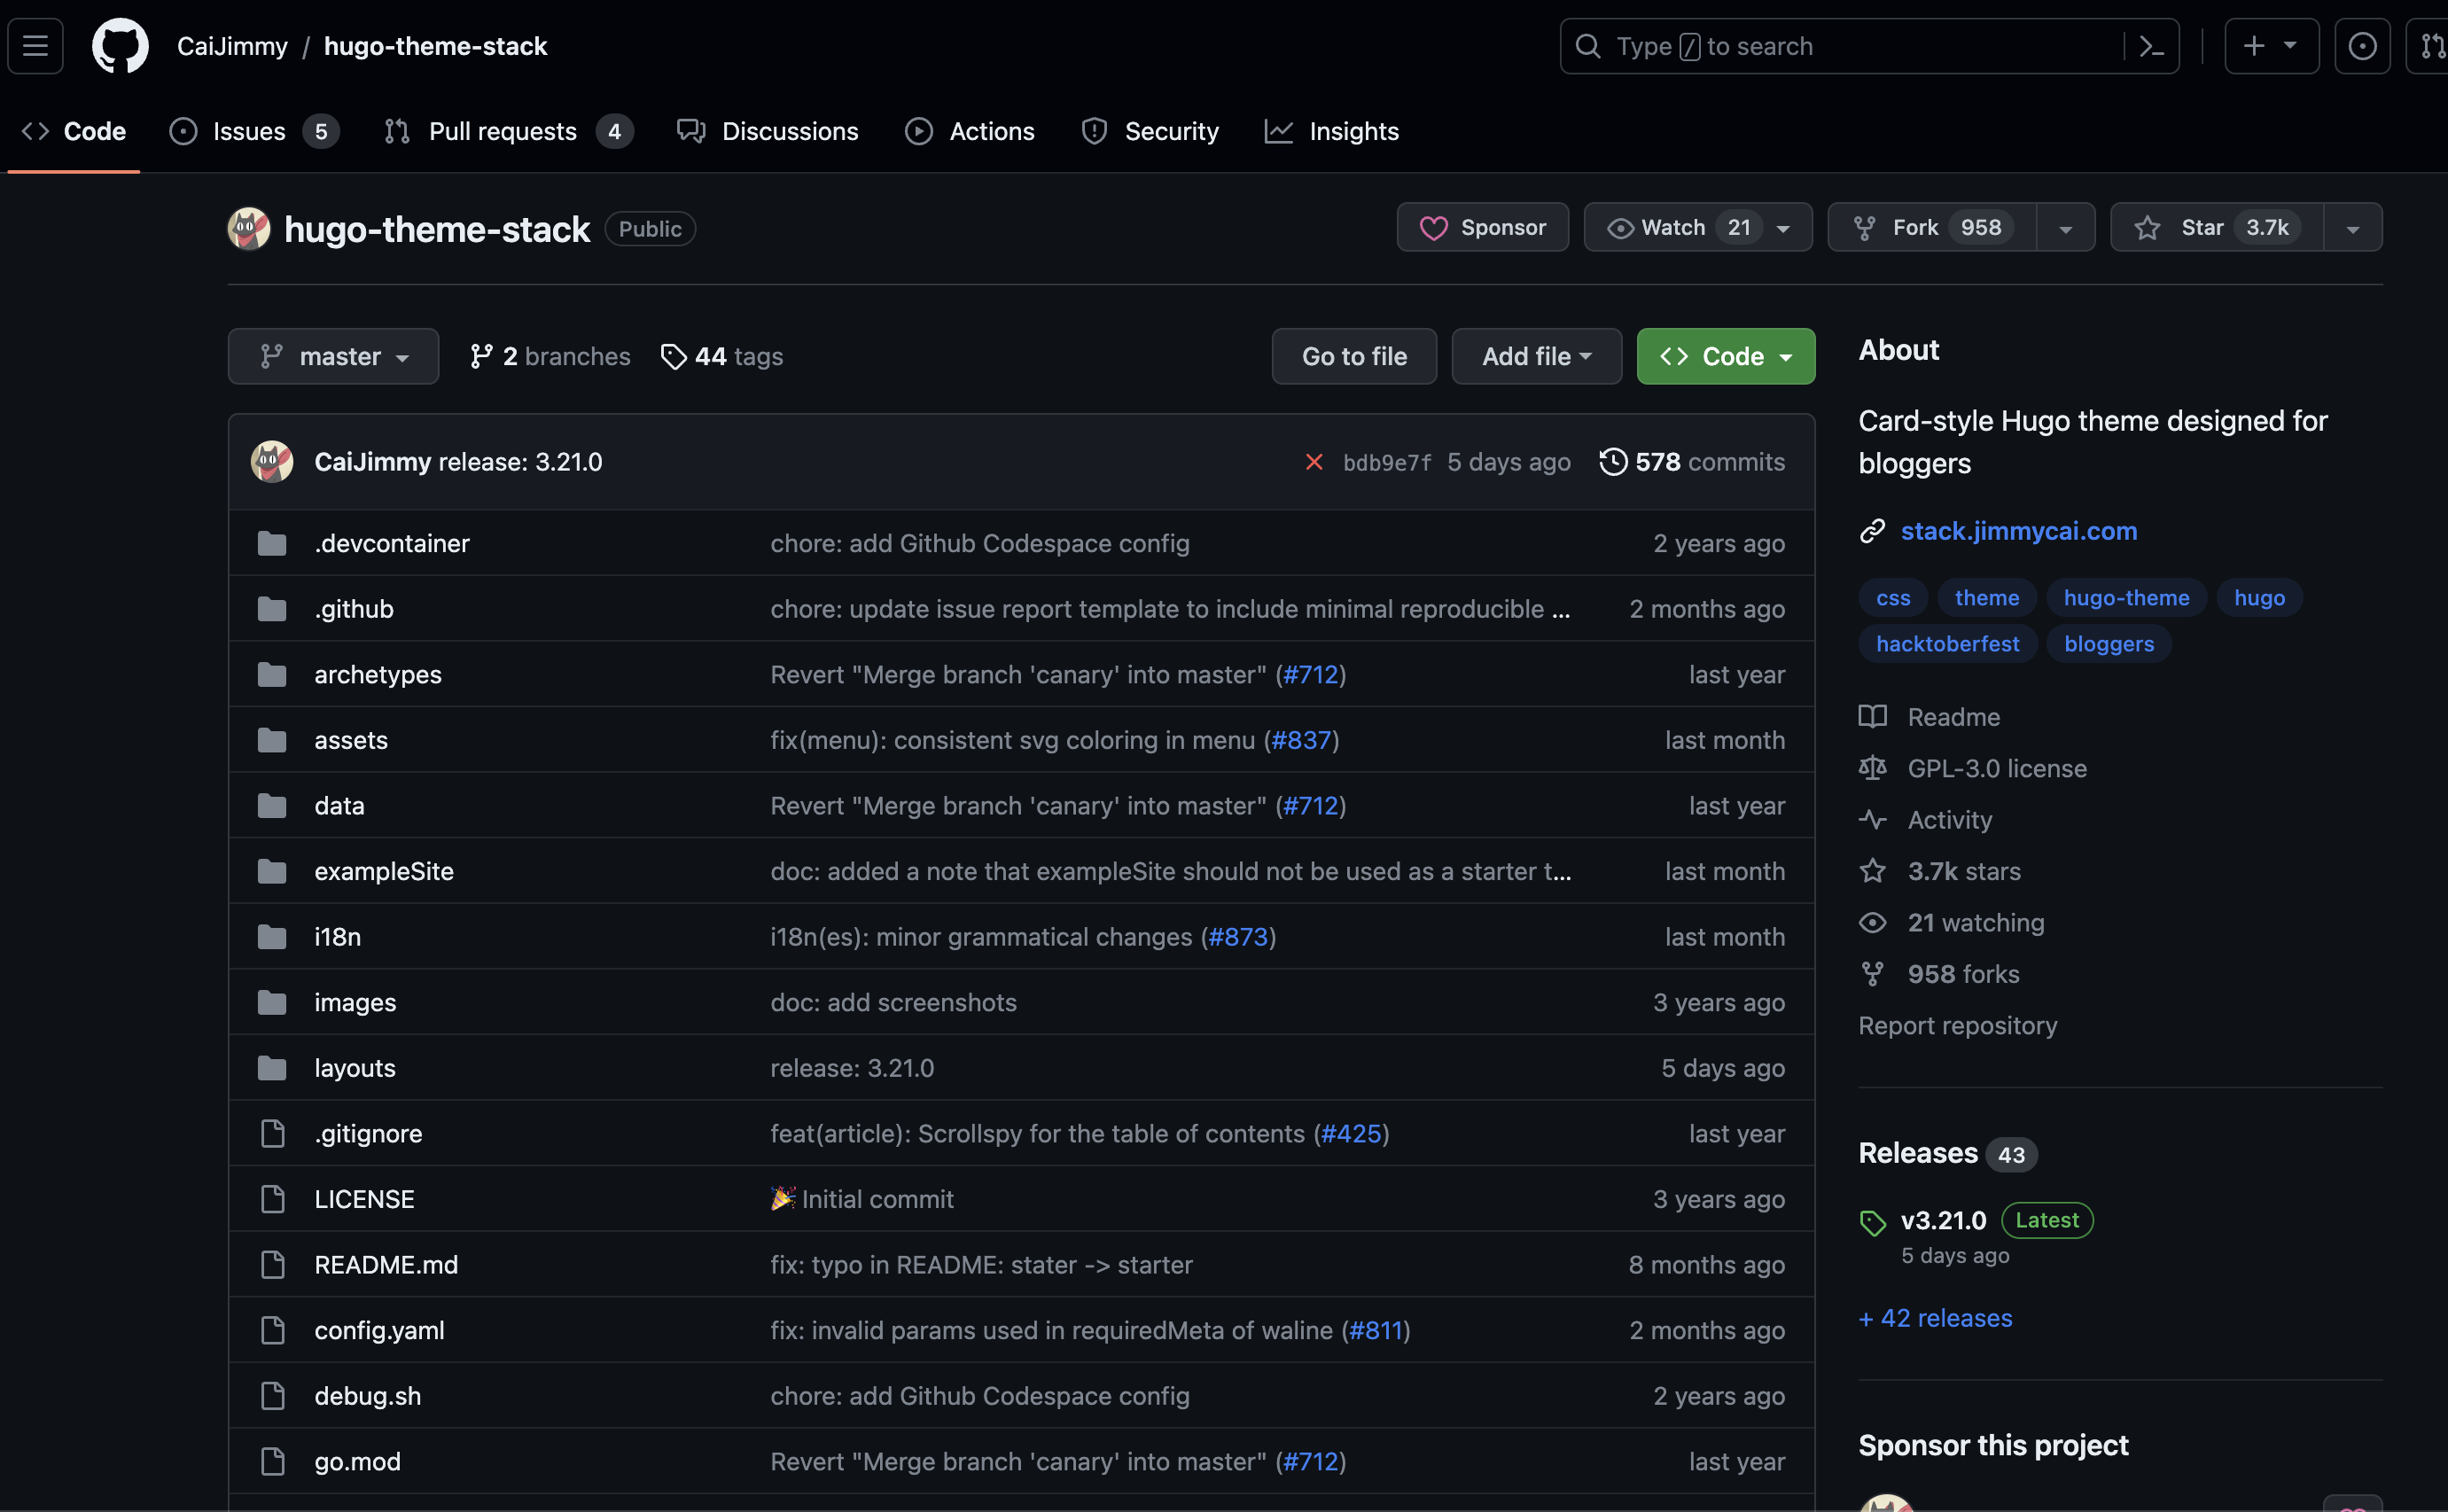
選擇網頁模版
在Hugo的社群中,有許多人分享了他們所設計的模板,我們可以從中挑選一個自己喜歡的樣式作為接下來開發的基礎。
Hugo主題連結:https://themes.gohugo.io/
我所選擇的主題Jimmy Cai所分享的Stack主題,連結:https://github.com/CaiJimmy/hugo-theme-stack。
複製主題
在選擇好主題後,我們可以使用Fork來將作者所分享的程式碼複製到自己的GitHub倉庫中。
只要點選右上角的Fork並依填入相應的資訊即可複製一份到自己的倉庫之中。
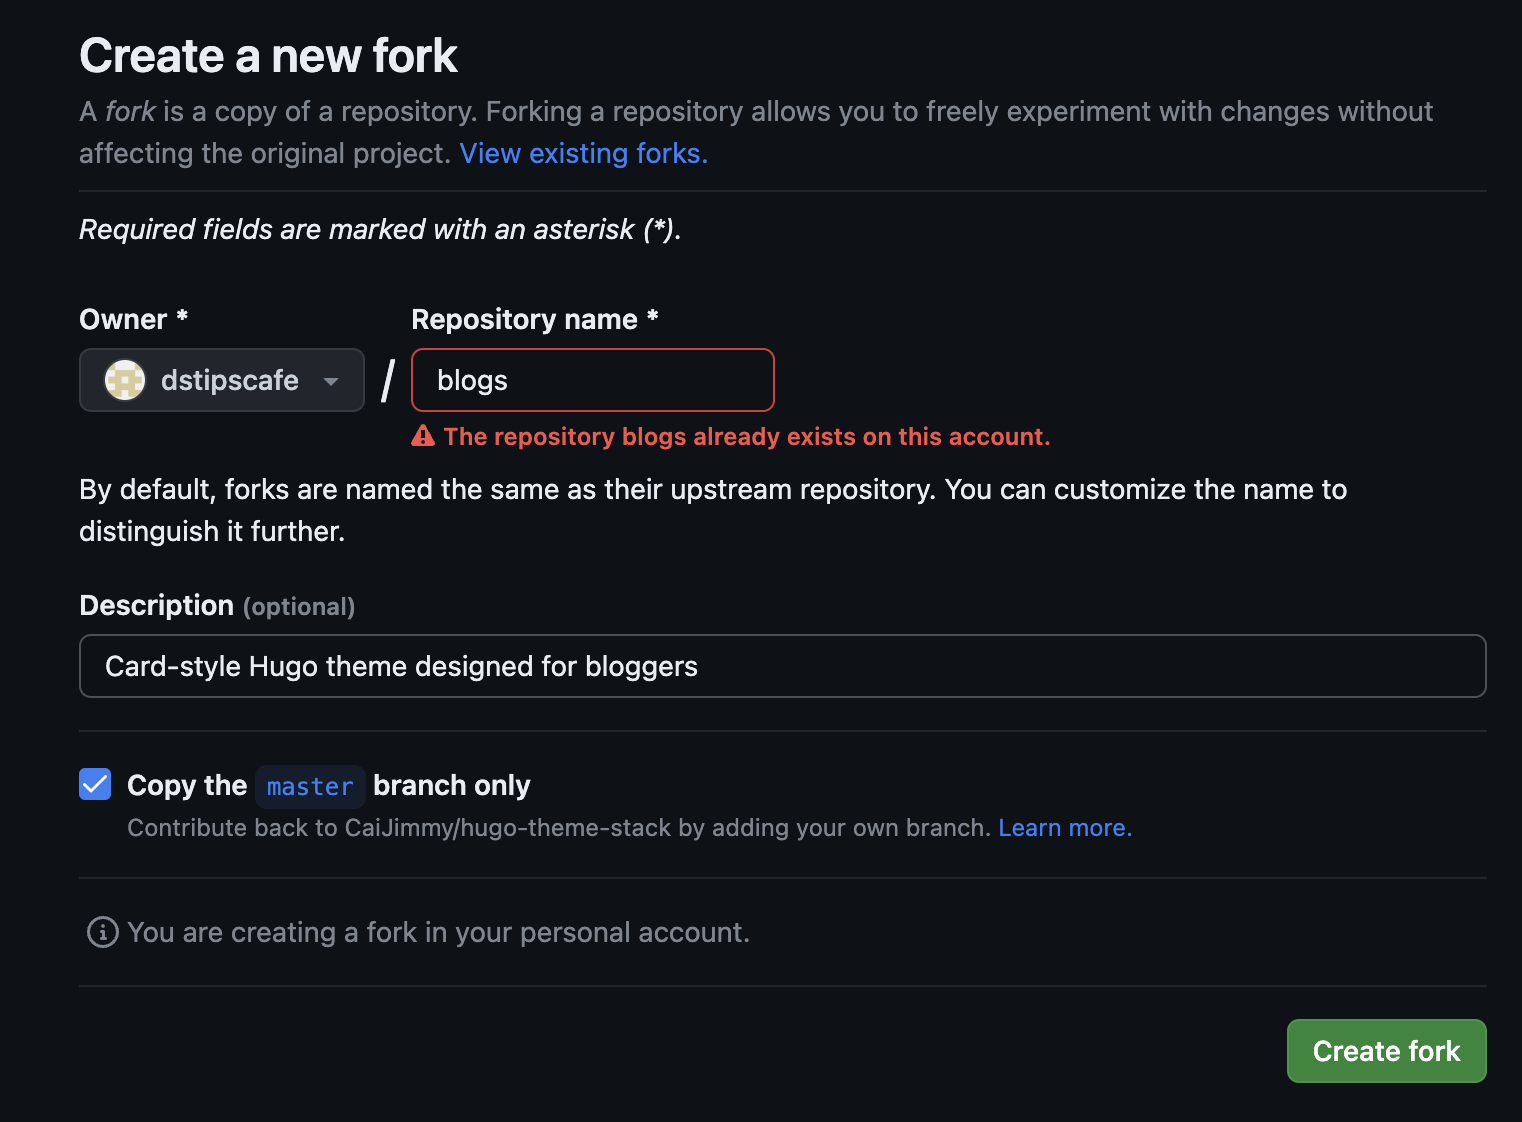
因為我已經建立過blogs倉庫了,所以會顯示紅字,請不要在意。
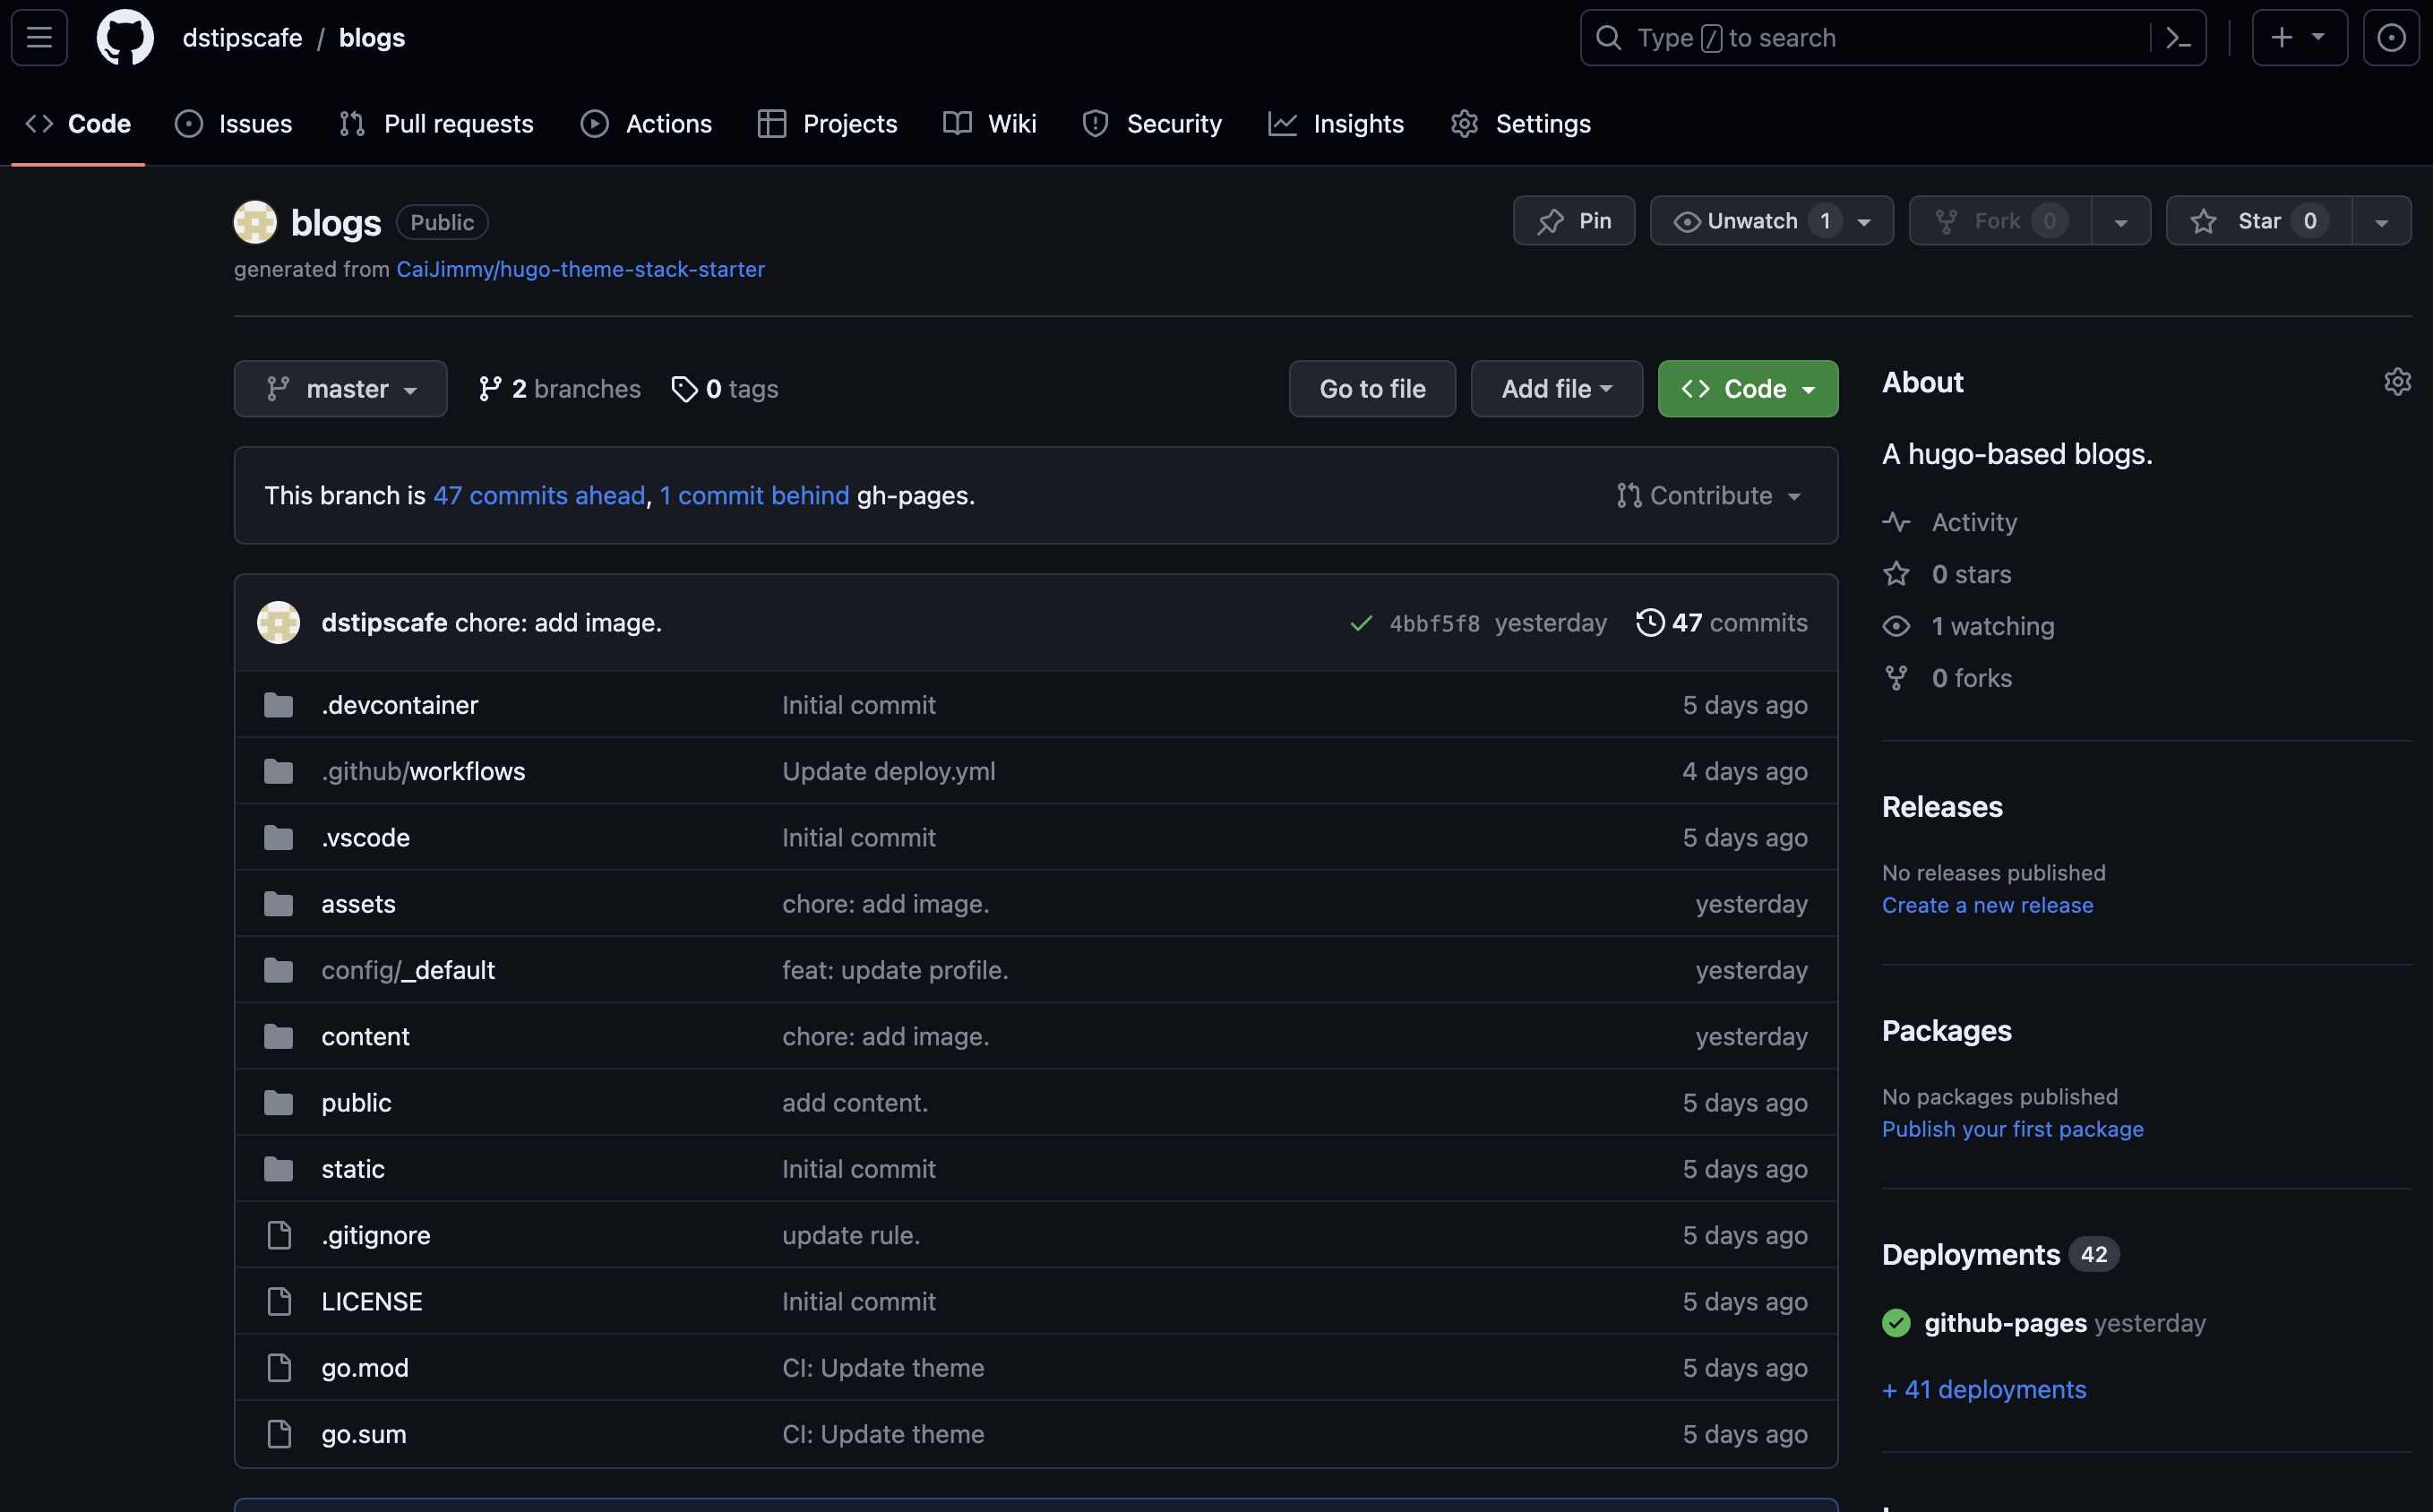
完成後,你應會看到類似以下的畫面:
下載倉庫
接下來,我們可以將倉庫的程式碼下載到電腦的環境中,並進行後續的處理。在我的例子中,我可以用以下的指令來進行下載:
1
| git clone git@github.com:dstipscafe/blogs.git
|
定義GitHub Action
每一個分享的作者可能會有自訂義的GitHub Action流程,協助用戶來快速的佈署自己的網站。在我所選擇的Stack主題中,很不幸的GitHub Action並沒有正常的作用。所以我就找了官方的教學來重新定義相關的流程。以下的教學均出自官方文件。
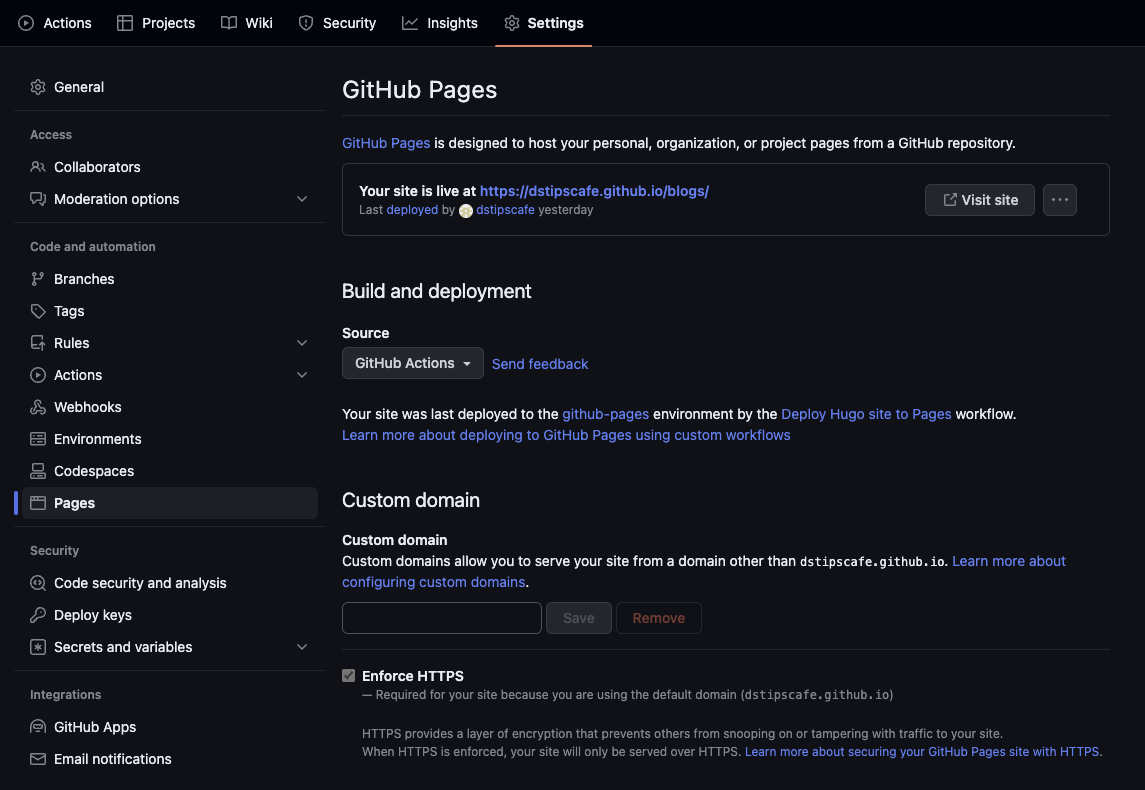
定義建構以及部署的來源
首先,我們需要定義GitHub Pages的來源。請先到設定>Pages的頁面中,將Build and deployment的選項修改成GitHub Action。
定義建構流程
GitHub Action的執行流程是由yaml檔案所定義的,而這個定義檔案需要被放在.github/workflows/資料夾底下。我們可以使用官方所提供的範例:
 1
 2
 3
 4
 5
 6
 7
 8
 9
10
11
12
13
14
15
16
17
18
19
20
21
22
23
24
25
26
27
28
29
30
31
32
33
34
35
36
37
38
39
40
41
42
43
44
45
46
47
48
49
50
51
52
53
54
55
56
57
58
59
60
61
62
63
64
65
66
67
68
69
70
71
72
73
74
75
76
77
78
| # Sample workflow for building and deploying a Hugo site to GitHub Pages
name: Deploy Hugo site to Pages
on:
# Runs on pushes targeting the default branch
push:
branches:
- main
# Allows you to run this workflow manually from the Actions tab
workflow_dispatch:
# Sets permissions of the GITHUB_TOKEN to allow deployment to GitHub Pages
permissions:
contents: read
pages: write
id-token: write
# Allow only one concurrent deployment, skipping runs queued between the run in-progress and latest queued.
# However, do NOT cancel in-progress runs as we want to allow these production deployments to complete.
concurrency:
group: "pages"
cancel-in-progress: false
# Default to bash
defaults:
run:
shell: bash
jobs:
# Build job
build:
runs-on: ubuntu-latest
env:
HUGO_VERSION: 0.115.4
steps:
- name: Install Hugo CLI
run: |
wget -O ${{ runner.temp }}/hugo.deb https://github.com/gohugoio/hugo/releases/download/v${HUGO_VERSION}/hugo_extended_${HUGO_VERSION}_linux-amd64.deb \
&& sudo dpkg -i ${{ runner.temp }}/hugo.deb
- name: Install Dart Sass
run: sudo snap install dart-sass
- name: Checkout
uses: actions/checkout@v3
with:
submodules: recursive
fetch-depth: 0
- name: Setup Pages
id: pages
uses: actions/configure-pages@v3
- name: Install Node.js dependencies
run: "[[ -f package-lock.json || -f npm-shrinkwrap.json ]] && npm ci || true"
- name: Build with Hugo
env:
# For maximum backward compatibility with Hugo modules
HUGO_ENVIRONMENT: production
HUGO_ENV: production
run: |
hugo \
--gc \
--minify \
--baseURL "${{ steps.pages.outputs.base_url }}/"
- name: Upload artifact
uses: actions/upload-pages-artifact@v1
with:
path: ./public
# Deployment job
deploy:
environment:
name: github-pages
url: ${{ steps.deployment.outputs.page_url }}
runs-on: ubuntu-latest
needs: build
steps:
- name: Deploy to GitHub Pages
id: deployment
uses: actions/deploy-pages@v2
|
接下來我會簡單解釋上方的定義:
- on部分:定義此GitHub Action將會在main分支有新的**推送(push)**事件時被觸發。
- defaults部分:定義此流程將使用**bash**為基礎執行。
- jobs部分:定義這個GitHub Action有幾個任務需要執行。以上方為例,將會有兩個任務,分別為build以及deploy。
在build階段,我們首先安裝了Hugo CLI工具,並依序建立了一些臨時的分支來建構我們的網站。這些臨時的分支並不會被留下來,將會在任務結束後被刪除。在建構完成後,所有的頁面將會被上傳至public資料夾。而在deploy階段時,將使用public資料夾中的頁面來作為網站的內容。
每一個主題可能有不同的建構及部署流程,這邊的介紹可以在我的主題中正常運作,若使用其他主題無法正常運作,歡迎留言討論。
修改定義
在推送改動前,我們還需要修改網站的一些設定。以這個網站為例,我們需要將config/_default/config.toml中的base_url改為以下的形式:
1
| baseurl = "https://dstipscafe.github.io/blogs"
|
提交並推送
在完成修改後,我們需要先將所有的改動進行提交(Commit)並推送(push)至GitHub來觸發GitHub Action。
 1
 2
 3
 4
 5
 6
 7
 8
 9
10
| # 新增改動
git add .github/workflows/hugo.yaml
git add config/_default/config.toml
# 提交改動
git commit -m "custom setup."
# 推送改動
git push
|
在推送改動之後,如果沒有錯誤,你應該可以看到倉庫的Action頁面中有類似的內容:
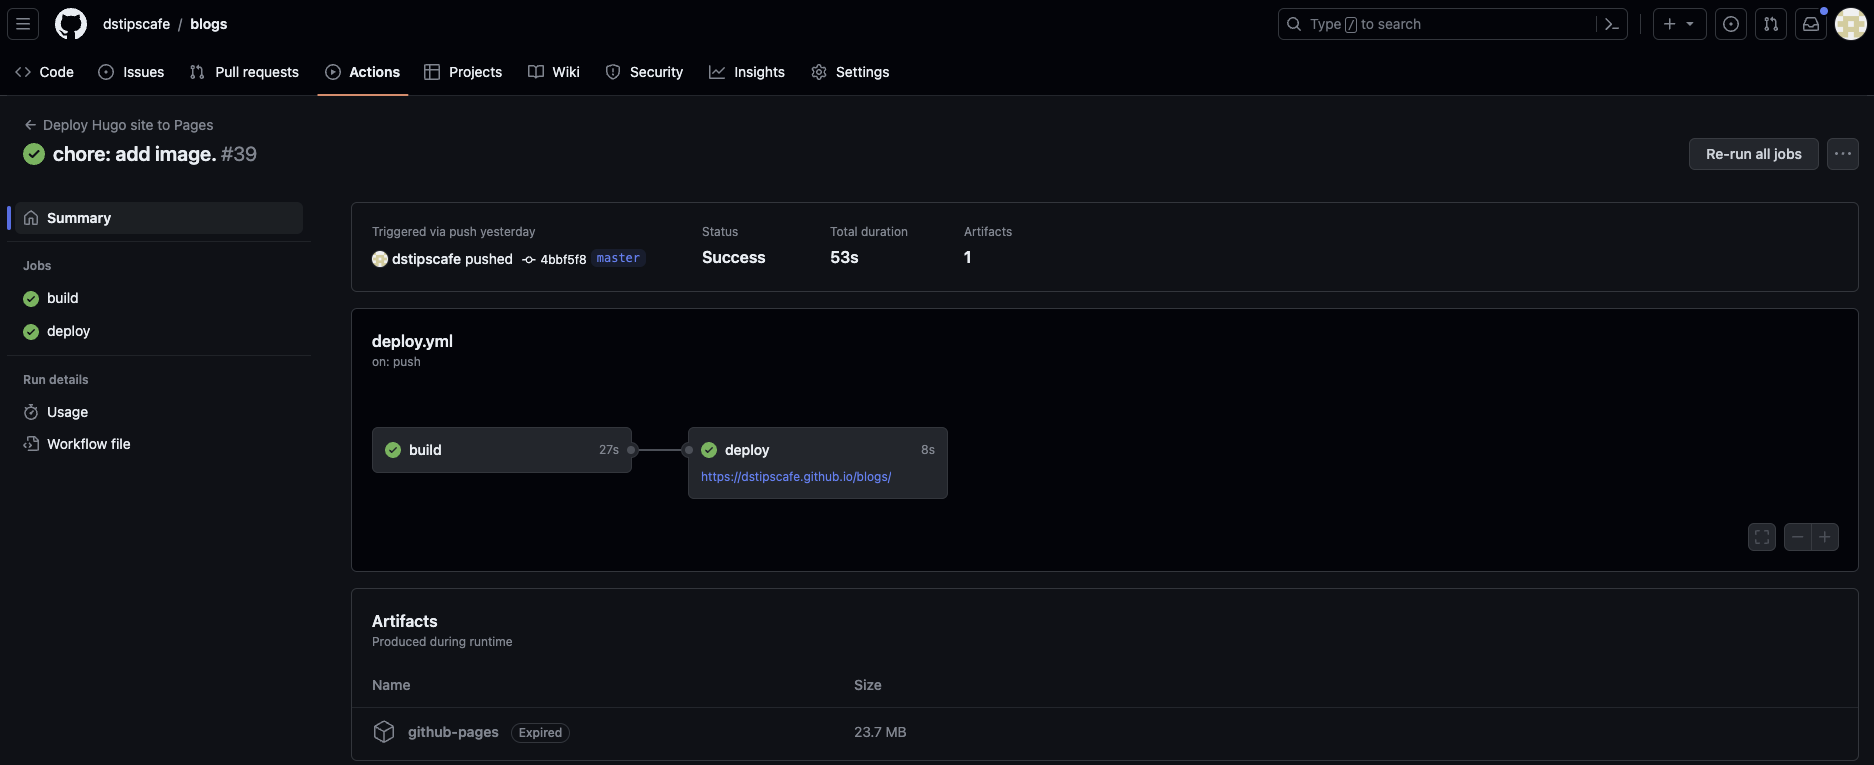
如果沒有錯誤且deploy的任務出現網址,就可以點選網址來進到部署好的網站之中囉~
如果沒有做任何改動,且與我一樣選擇Stack主題,應該會看到與作者所提供的示範頁面相同的網站。
總結
希望大家在看完以上的教學後都能夠順利的利用Hugo以及GitHub Action來建構自己的網站!